Getting started with IFF SDK
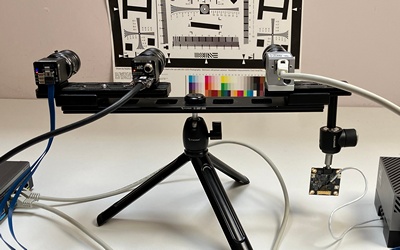
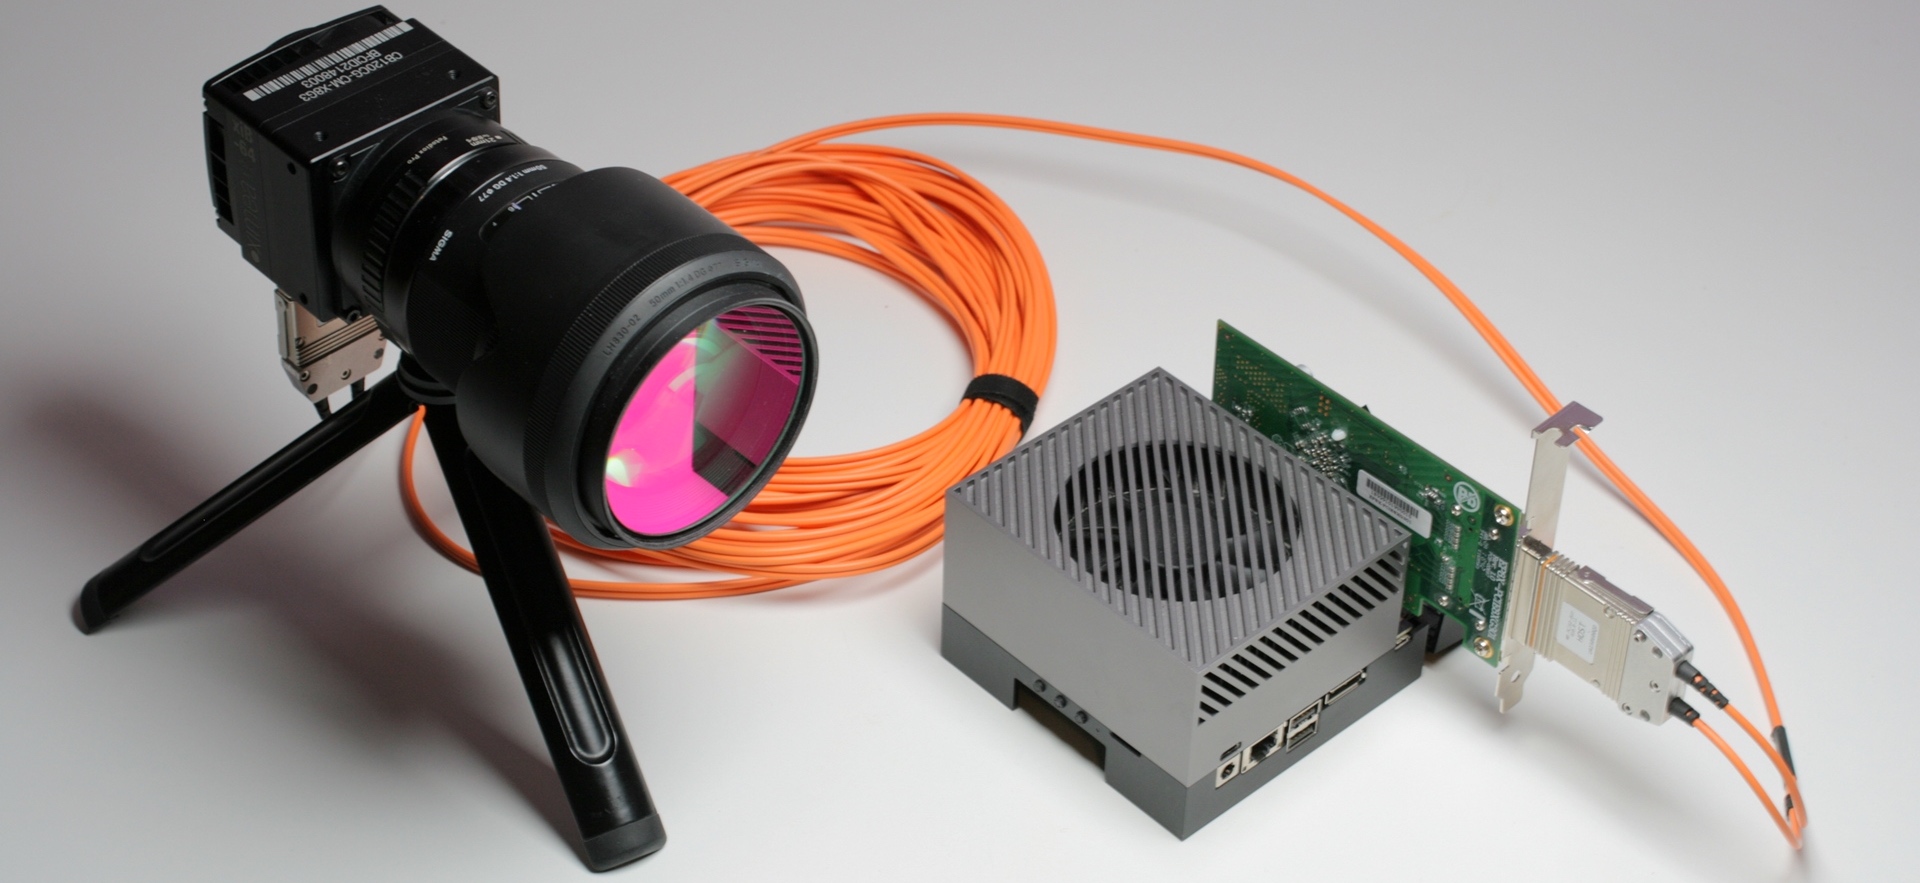
In this paper, we will demonstrate how easy it is to start a network stream from a camera on NVIDIA Jetson Orin with MRTech IFF SDK. For demonstration, we will take a XIMEA camera, but it also can be a MIPI camera or any industrial camera that supports the GenICam interface.
Here is a simple step-by-step instruction.
At first, you need to flash OS to your Jetson Orin board. For this step, you need a Linux host machine with the Ubuntu operating system installed. In our case, we are using Ubuntu 20.04.
Download the latest Jetson Linux release package and sample file system for your Jetson developer kit from https://developer.nvidia.com/linux-tegra.
You need to download these two packages:
After downloading these two archives, install qemu-user-static and lbzip2 packages. They are needed for further steps.
$ sudo apt install lbzip2
$ sudo apt install qemu-user-static
Now you are ready to assemble rootfs and flash OS to the Jetson Orin board.
Enter the following commands to untar the files and assemble the rootfs:
$ tar xf Jetson_Linux_R35.4.1_aarch64.tbz2
$ sudo tar xpf Tegra_Linux_Sample-Root-Filesystem_R35.4.1_aarch64.tbz2 -C Linux_for_Tegra/rootfs/
$ cd Linux_for_Tegra/
$ sudo ./apply_binaries.sh
$ sudo ./tools/l4t_flash_prerequisites.sh
Now connect Jetson’s USB-C port next to 40-pin connector to the host and switch Jetson to recovery mode.
To put your Jetson Orin developer kit into Force Recovery Mode:
- Ensure that the developer kit is powered off.
- Press and hold down the Force Recovery button.
- Press, then release the Power button.
- Release the Force Recovery button.
To check if your Jetson Orin board is in Force Recovery Mode, open a terminal window on your host computer and enter the following command:
$ lsusb
The Jetson module is in Force Recovery Mode if you see the message like this:
Bus <bbb> Device <ddd>: ID 0955:<nnnn> Nvidia Corp.
Before flashing OS, connect the display, keyboard and mouse to the Jetson Orin developer kit. Now everything is ready to flash OS to your Jetson Orin board.
Enter this command on your Linux host to install (flash) the Jetson release onto the Jetson developer kit.
$ sudo ./flash.sh jetson-agx-orin-devkit internal
The Jetson developer kit automatically reboots when the installation process is complete. At this point your Jetson Orin developer kit is operational. Follow the prompts on the display to set up a user account and log in.
After setup is complete connect your board to the local network, connect the camera and reboot.
Now we are ready to prepare the Jetson Orin board to start the network stream from the camera. All further operations are performed on the Jetson Orin board.
First, install some tools needed to build the IFF SDK streaming sample:
$ sudo apt update
$ sudo apt install -y build-essential
$ sudo apt install -y cmake
Now download and install the XIMEA software package needed to work with the camera:
$ wget https://www.ximea.com/downloads/recent/XIMEA_Linux_ARM_SP.tgz
$ tar xzf XIMEA_Linux_ARM_SP.tgz
$ cd package
$ ./install -pcie
Now you are ready to download the IFF SDK package and build a streaming sample application. If you haven’t purchased the IFF SDK package yet, you can contact MRTech SK, request a trial version and get a download link.
Download the IFF SDK package zip archive.
Unzip package:
$ unzip iffsdk.zip
IFF SDK package directory has the following structure:
- documentation – IFF SDK manual
- samples – example source code from Sample applications
- sdk – MRTech IFF SDK
- include – C header file
- lib – shared libraries
- licenses_3rdparty – license texts of third-party software used by IFF SDK
- version.txt – release number and edition information
Now everything is ready to build the IFF SDK streaming sample application, edit its config file and run it to start a stream.
Build the streaming sample:
$ cd iffsdk/samples/01_streaming
$ mkdir build
$ cd build
$ cmake ..
$ cmake --build .
Now you need to edit the `farsight` application config file located in the `bin` directory: bin/farsight.json
First, find the section named `services` and edit the `host` IP address for the rtsp server.
    "services": {
      "rtsp_server": {
        "host": "<CHANGEME>",
        "port": 8554,
        "mtu": 1500
      },
      "http_server": {
        "port": 8080
      }
    }
  },
Change “<CHANGEME>” to the actual IP the address of Jetson Orin devkit.
To determine actual IP address of your board you can use the following command:
$ ip route get 8.8.8.8 | sed -n 's/^.*src \([0-9.]*\) .*$/\1/p'
Now in the section “chains” in the chain with “id” “main” you need to edit the camera element and set an actual serial number of our camera.
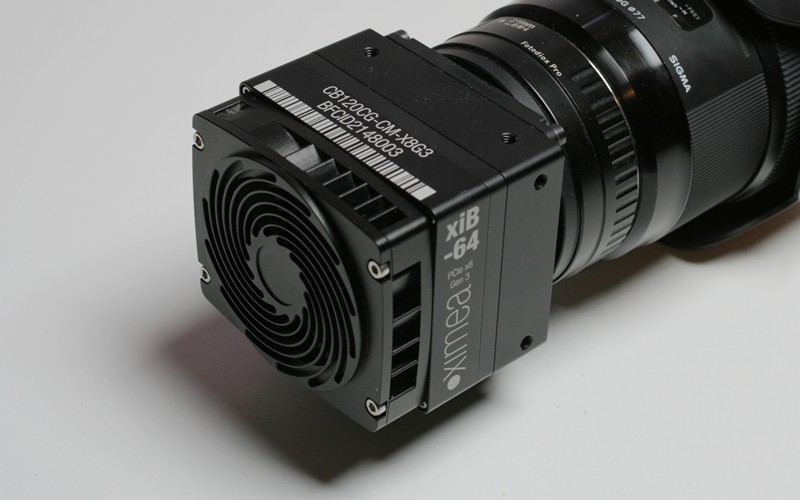
The serial number is usually located on the top or back side of the camera.
    {
      "id": "cam",
      "type": "xicamera",
      "cpu_device_id": "cpu_dev",
      "serial_number": "<CHANGEME>",
      "image_format": "RAW8",
      "custom_params": [
        { "bpc":                            1 },
        { "column_fpn_correction":          1 },
        { "row_fpn_correction":             1 },
        { "column_black_offset_correction": 1 },
        { "row_black_offset_correction":    1 }
      ],
      "exposure": 10000,
      "fps": 30.0,
      "gain": 0.0
    },
Now in the element with id “gpuproc” you need to change the output format to YV12_BT709 as indicated by the inline comment:
{ "id": "export_to_device", "type": "export_to_device", "output_format": "NV12_BT709", //change "NV12_BT709" to "YV12_BT709" on Jetson
You can consult IFF SDK technical manual to find out all available parameters and their meanings.
All preparations are done now and you can run the `farsight` application:
$ cd bin
$ ./farsight
The network stream from the camera is up now and you can play it using a VLC player on your host machine.
Open VLC, click on `open network` menu item and enter the following url in the input field:
rtsp://<BOARD_IP>:8554/cam
Change “<BOARD_IP>” to the actual IP the address of Jetson Orin devkit.
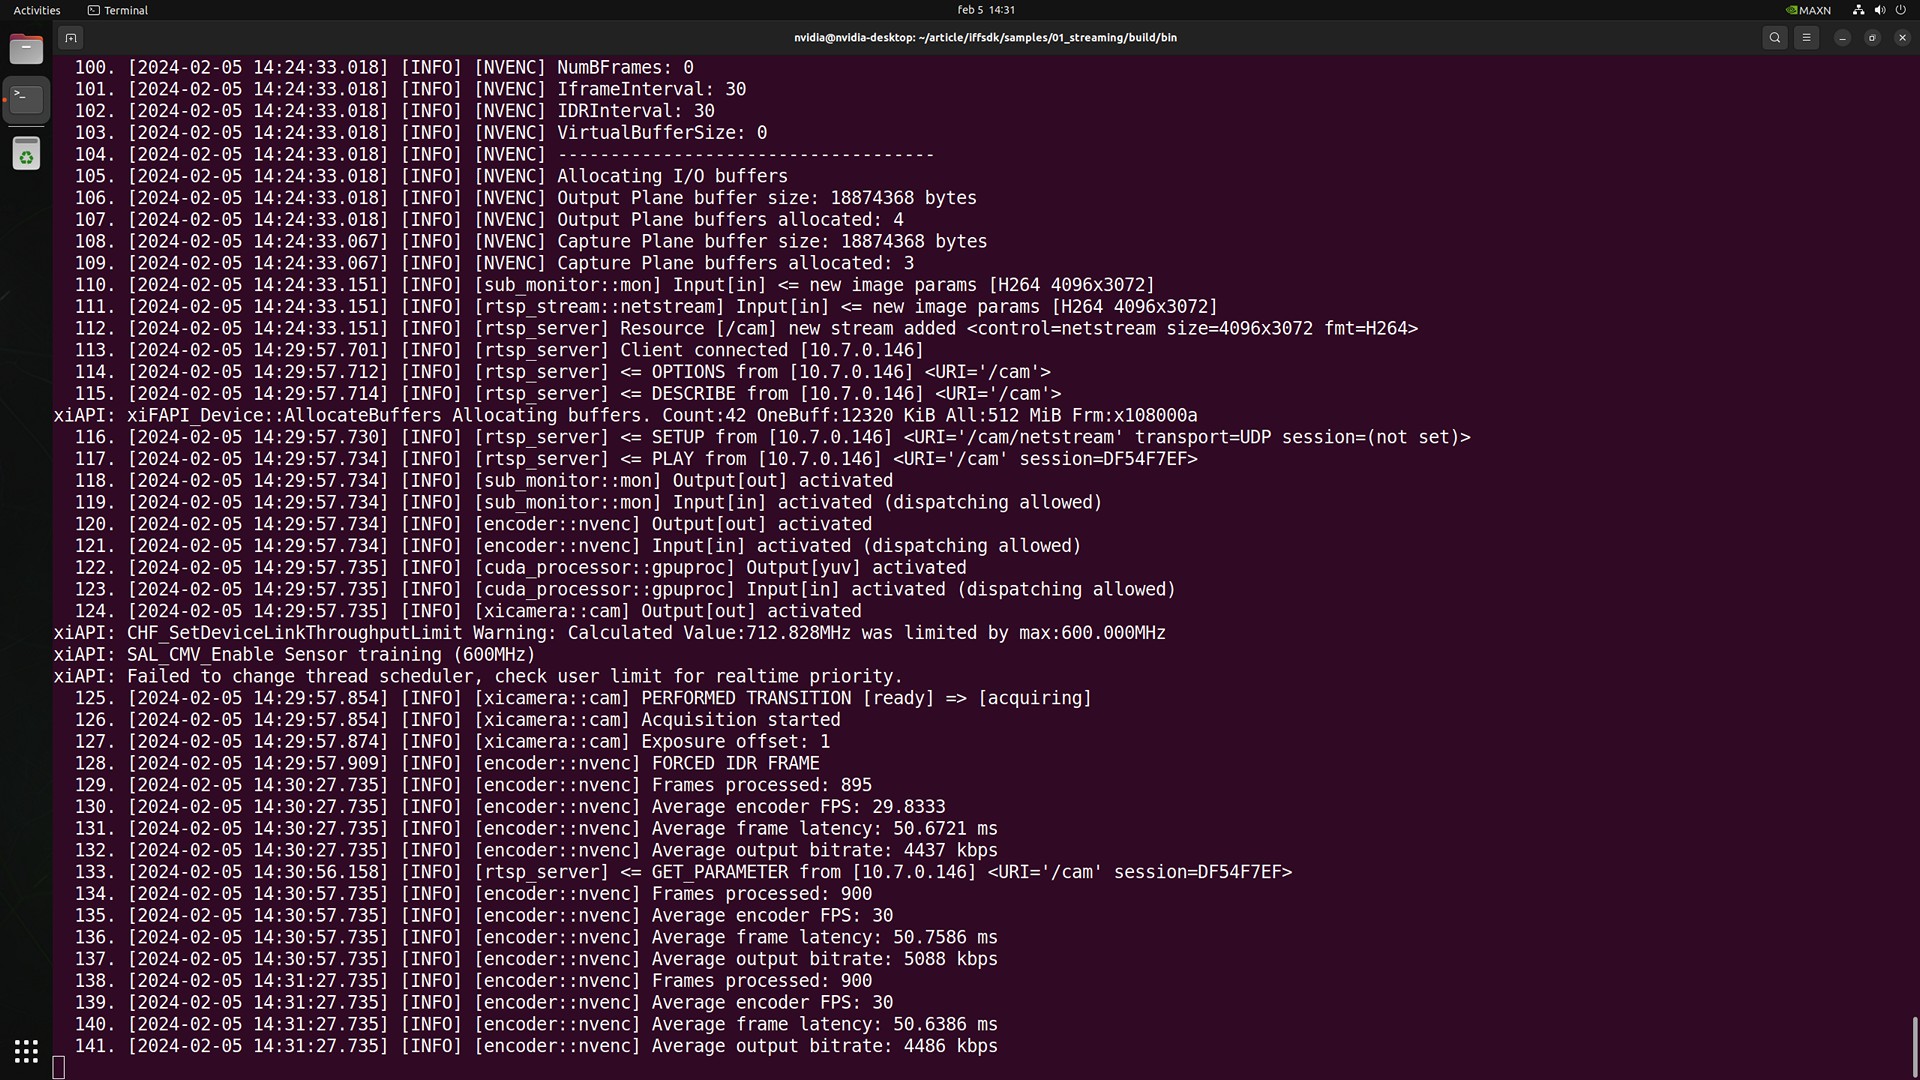
`farsight` application log
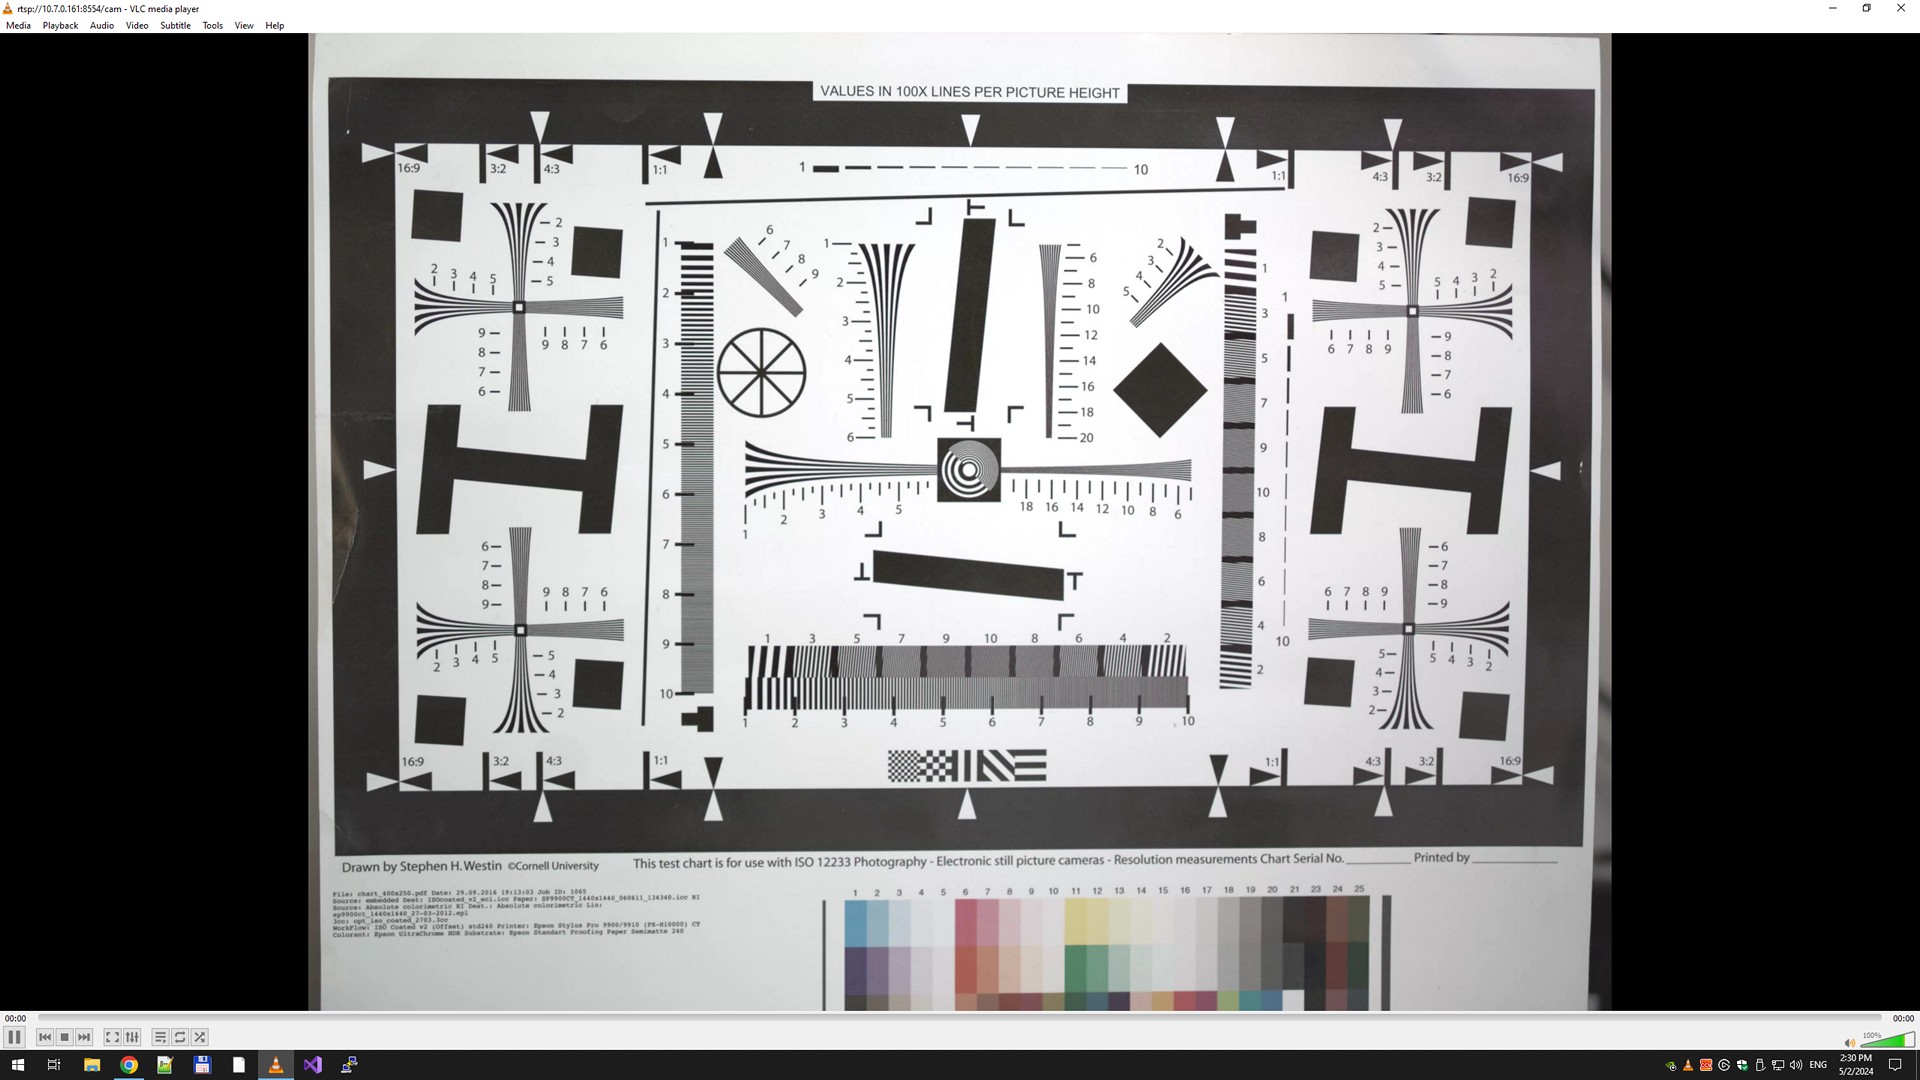
Stream from camera opened with VLC
You can also write an image from the camera to the disk using `curl` command from the host machine or Jetson Orin itself:
$ curl -d '{ "writer": { "command": "on", "args": { "frames_count": 1 } } }' -X POST http://<BOARD_IP>:8080/chains/main/execute
Again, change “<BOARD_IP>” to the actual IP the address of Jetson Orin devkit. For other examples of HTTP interface usage please see IFF SDK technical manual:
https://mr-te.ch/iff-sdk-manual-1-7#_curl_command_examples
Now you see how easy it is to set up a network stream from your camera on Jetson Orin using MRTech IFF SDK, play it and control the pipeline. If you have any questions for us, feel free to contact us at usual places, like support@mr-technologies.com email or MRTech website form.